Search This Blog

Wednesday, December 19, 2012

Part 4 Ex 3.2 Judging colour temperature

For this ex I was required to take similar shots at similar light situations to the previous Ex.  This time I was required to alter the White Balance setting.  One at Daylight, one at shade and the third in automatic.

The first set of photographs were taken in full sunlight.

Auto
Cloudy
Daylight

The auto and daylight are similar, they are both attempting to remove some of the orange from the exposures.  The cloudy has added more orange making it more of a late sunlight shot.  I prefer the cloudy effect but would probably have preferred a more minor alteration.

The second set were taken in shade:

Auto

Cloudy

Daylight
The results on the shade photographs is more subtle.  The auto setting is nearer the shade setting and both have attempted to put more colour into the shot.  I prefer the cloudy setting.

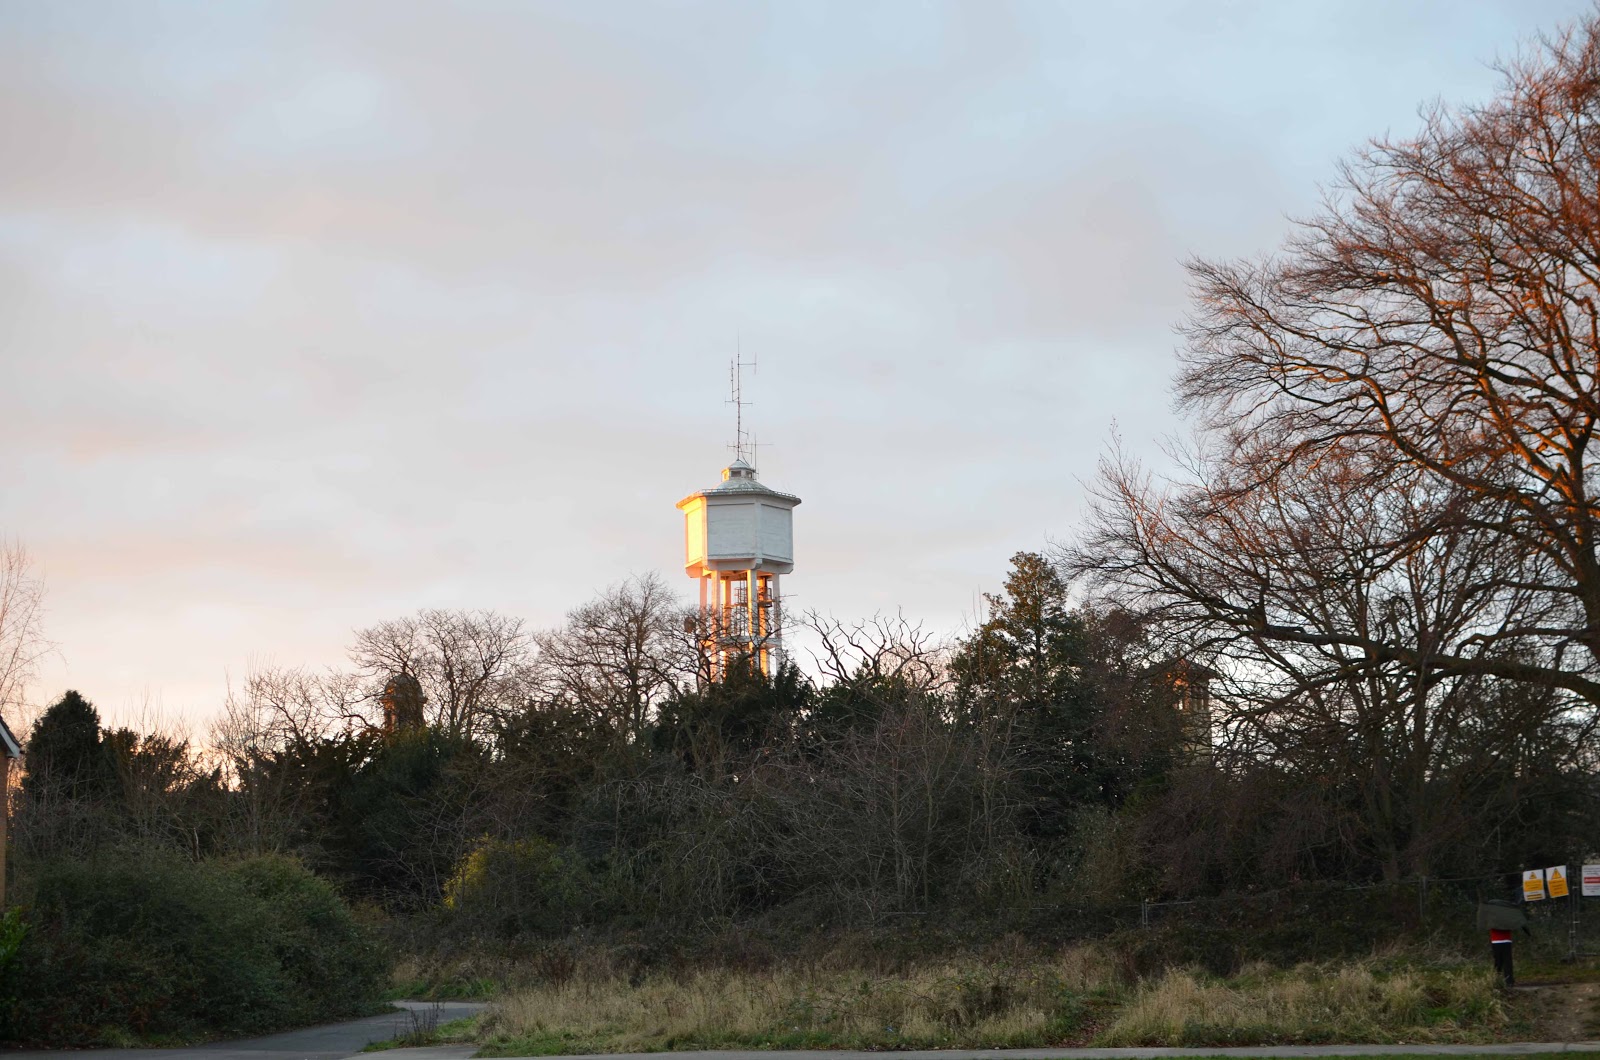
The third set was in low light, this was quite difficult as the light was fading fast:

Auto

Daylight

Cloudy

These photographs show that the auto setting attempts to bring attempts to remove some of the orange and bring up the blues so the shot almost looks like it was taken in the shade.  The cloudy has lots of orange in it, probably too much for my liking.  I prefer the daylight setting that has a good balance.

Part 4 Ex 3.1 Judging colour temperature

For this exercise I was required to take three photographs of the similar subject on a clear day in full sunlight, shade and late sunlight.  I was then to note any observations.

I used my son as the subject and took the photographs on a clear winter day.


Midday sun

Shade

Low light
There are various differences between the photographs.  The brightest photograph in the mid-day sun has the sharpest colours and the colour of the skin is almost bright white.  In the shade the blues come more to the fore and colour of skin has more blue and orange to it.  The low light brings out the reds and oranges and gives the trees in the background, the hair and the skin an orange red tinge.

Sunday, December 16, 2012

Part 4 Exercise 2 ISO settings

For this exercise I was required to shoot several scenes with a normal or lower ISO then a high ISO setting and to note the differences in quality and presentation.

I chose to use my 35mm fixed lens throughout.  I picked scenes in marginal light conditions.

ISO 125

ISO 1250
 THis first scene does not appear greatly different as the light was pretty good.  It is only when magnified that you can see the graining on the second shot.

ISO 140

ISO 1250
 This is similar to the first shot in that that there is little difference between the shots.  The detail is probably greater on the first picture.
ISO 100

ISO 1250
 This shot taken in the kitchen shows that at ISO 100 the whole shot is blurred as the light is not good enough.  THe second shot at the higher ISO shows much clearer detail.

ISO 250

ISO 1600
 The difference between these two wine rack shots shows much more detail and clarity in the second shot.

ISO 100

ISO 1250
ISO 500

ISO 4000


ISO 100

ISO 4500
The last shot in the exercise was taken in a very low light situation and the difference is marked.  The high ISO shot is sharper but there is graining clearly visible.


Sunday, December 2, 2012

Part 4. Exercise 1. Part 2.

For this next part of exercise one I needed to take 5 or 6 photographs and take then with a range of exposures.


 F6
 F5.6
 F5
 F4
F3.5

These photos were taken at a range of Apertures from F3.5 to F6.  The camera set F5 at the correct level the centre picture but the F5.6 is probably my favourite exposure.


The second set are from F4.5 to F6.3 with the camera selected aperture of F5.  There is very little to choose between any of the exposures.  Because of the bright background light the the darker F4.5 shot is probably the most effective.

The third set were taken indoors:
F3.5

F4
F4.5
f5

f5.6

The apertures ranged from 3.5 to 5.6.  The camera set aperture of F4.5 is the most effective shot in my opinion.

F6.3
F7.1
F8
F9
F10
 These pictures were taken outside in bright light.  There is very little difference between the shots and all of them work well.  The central F8 aperture shot does have a richer colour to the sky.


F6.3
  
F7.1
F8


F9
F10
 Again there is very little difference between the shots, most of them work OK although the lighter ones are not as effective.  The darker shots F9 and 10 seem to work best as they have more detail.